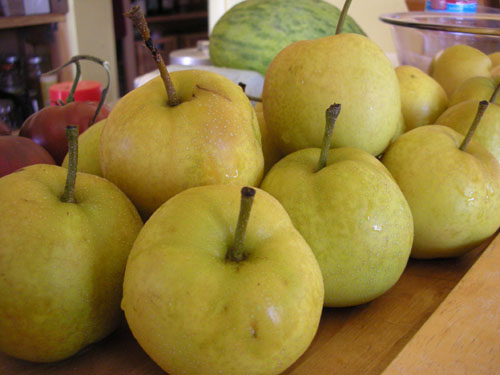
We had a windfall of Asian pears last week: a branch broke off one of the trees and about sixteen small pears were orphaned. Asian pears do not ripen off the tree, so there was nothing to it but to make jelly. But where do you find a recipe? When a fruit sells for $2.30 a pop, not many people buy flats of it for jellying. So I've been adapting jelly recipes for pears and apples to make a recipe for Asian pears.
The key with Asian pears is that their flavour is very subtle. Add any extra flavours, and you'll lose the fruit. So you have to go lightly on the lemon, and while I have seen suggestions of vanilla, rum, and other flavourings, I'm not convinced they are a good idea. This light flavour is why I decided to make jelly rather than jam. Jelly is clear, jiggly, and can be much more delicate. It does have to be made in two parts: first you make the juice, then you make the jelly, but you can let quite a bit of time pass between the two stages.
So let's start with the fruit. I washed the pears, then quartered them and removed stems and the furry fruit ends. The seeds and cores got to stay, because they are full of pectin and I'm making jelly, not jam.
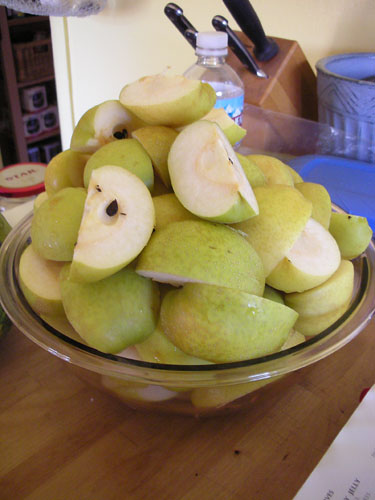
Then I chopped a few pieces up into smaller slices and spread them on the bottom of the pot. This keeps the fruit on the bottom from burning before it starts giving up juice. Maybe it's just a superstition, but it's always worked best for me with apple jellies.
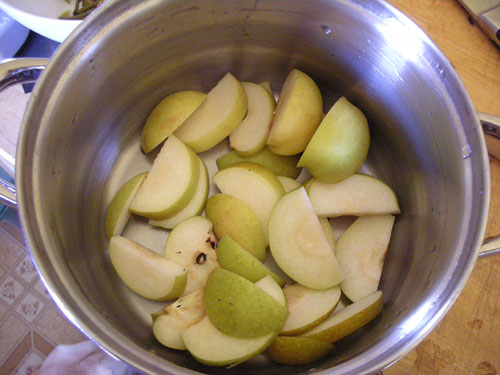
I had a lot of fruit; more than really fit nicely into one pot. So I divided it into two pots for the juicing. You add some water: as little as possible, though the amount will depend on your pot. Don't worry about adding too little; you can always add more later, but don't be ridiculous. The water helps extract juice from the fruit. In this photo you can see the glint of the water level though the fruit. That was just enough water for this pot.
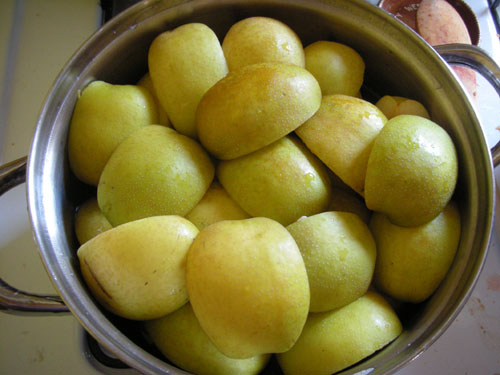
In contrast, this pot was a bit shy on the water, even though it had a greater proportion of water to fruit to start out with.
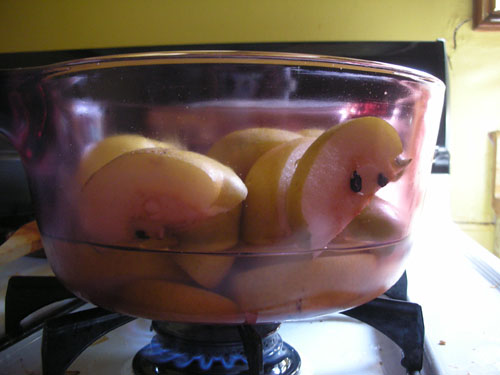
The process of removing the juice takes a while. My pots took about an hour of boiling, and the nice thing about this stage is that I didn't have to be right there the whole time. You start out at low heat until the fruit starts sort of sweating, then turn it up and cook until the fruit is very soft: my measure was that I could stick the wooden spoon through every piece of fruit with minimal effort. Then you strain the mash in a jelly bag.
Our jelly bag is a fine cotton pillowcase. You can also buy a purpose-made jelly bag, or make one from a nice piece of cloth. The pillowcase works for me because it's approximately the right size and it already exists.
It's clean, obviously, but I also boil it for about ten minutes beforehand to get it closer to sterile. The boiling also gets it wet, which means it won't absorb all of your juice before dripping the rest into the bowl. This is key.
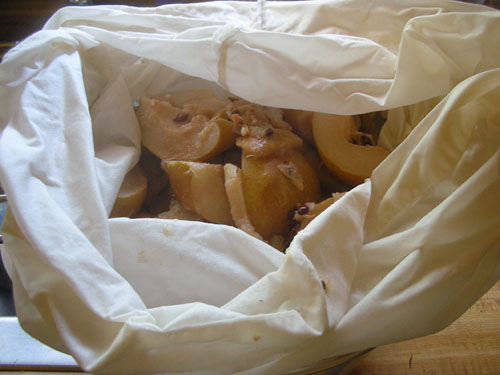
I put the jelly bag in a metal strainer for support (you can also tie it and hang it from a hook if you have such a setup, and I have elaborate fantasies about a pulley system that will probably never come to pass), set on top of a bowl and then set aside in the kitchen. Overnight is about as long as required to filter the juice. Don't squeeze the bag, as much as you are tempted.
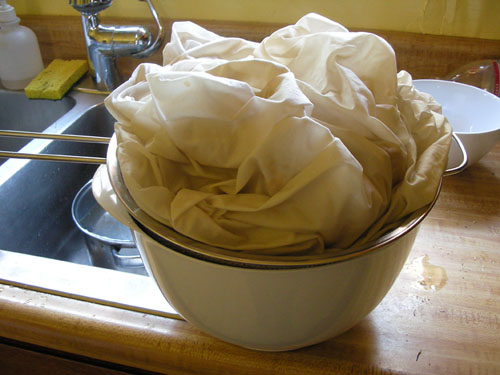
When the dripping is done, you can get another bowl and squeeze the bag into that bowl: it will make a cloudier, less fine jelly, but it's lots of fun. Actually, with Asian pears, this is less exciting than with fruit like raspberries, which are naturally very juicy. But go for it.
At this point, you can continue on to making the jelly, or you can bottle up the juice and store it in the refrigerator for up to a month. Or you can freeze it for six months, or you can can it in sterile jars like jelly, although I admit that when I consider that option it gets low ratings because if you're going to bother with all the fuss of sterilizing the jars and getting the water bath ready, you might as well make the jelly right away.
Being somewhat short on time, I opted to bottle the juice up and put it in the refrigerator. So Part Two will be about the jellying itself.
