
Previous entry:
Gardening and Global Warming
Next Entry:
More Laser Cutting
Home:
One Truth For All
| Sun | Mon | Tue | Wed | Thu | Fri | Sat |
|---|---|---|---|---|---|---|
| 1 | 2 | 3 | 4 | 5 | ||
| 6 | 7 | 8 | 9 | 10 | 11 | 12 |
| 13 | 14 | 15 | 16 | 17 | 18 | 19 |
| 20 | 21 | 22 | 23 | 24 | 25 | 26 |
| 27 | 28 | 29 | 30 | 31 |
Archives
- May 2008
- April 2008
- March 2008
- February 2008
- December 2007
- November 2007
- October 2007
- September 2007
- August 2007
- July 2007
- May 2007
- April 2007
- March 2007
- February 2007
- December 2006
- November 2006
- October 2006
- September 2006
- August 2006
- July 2006
- June 2006
- May 2006
- April 2006
- March 2006
- February 2006
- January 2006
- December 2005
- November 2005
- October 2005
- September 2005
- August 2005
- July 2005
- June 2005
- May 2005
- April 2005
- March 2005
- February 2005
- January 2005
- December 2004
- November 2004
- October 2004
- September 2004
- August 2004
- July 2004
- June 2004
- May 2004
- April 2004
- March 2004
- February 2004
- January 2004
- December 1969
July 30, 2007
Laser Fun
I spent some time today at Techshop, working with one of the laser cutters there. On Friday evening, Noel and I took the intro to laser cutting class and I had spent much of the weekend working on some drawings to try out.
Techshop has two laser cutters: an Epilog Summit and an Epilog Helix. The Summit has a 22" x 17" cutting area (although larger materials can fit into the machine; I was using 24" stock), while the Helix has a 24" x 18" cutting area (and that's about as large as the material can be). The Helix is a newer, more powerful, faster machine. The Summit is more often available, and as I happened to need a lot of time, it was the one I used today. I spent about six hours on the system, and stopped because I was going to go crazy if I had to spend another minute there watching the machine sloooooowly cut the wood.
What follows are some of my notes on the Summit and the materials I was using.
Technorati Tags: architecture, design, model building, power tools
The first note is that the Summit has no real registration tools. You kind of put your material in there and hope it's in the right spot. And it was not always in the right spot, even with some very careful alignment. I had a lot of material and ended up wasting much of it to misalignment; in the future I will bring an alignment paper with me and tape it down. Also, more material. Also, less tight layouts on the outer edges; the inside layout should be tight (pieces within 1/4" of each other), but 1/2" or more of room around the edges is a good idea with this particular machine.
Second note about the Summit: its focus is not very consistent, and that makes a huge difference in the cutting quality. Some of that was due to the materials I was using, which were bending. But some of it was the machine itself.
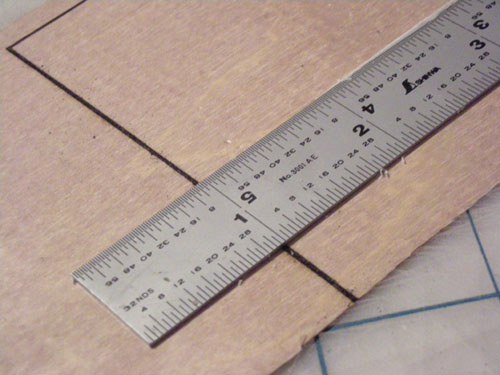
See, here is a cut that was slightly out of focus. It's wider than 1/32":
Whereas this cut was in tight focus, and is narrower than 1/64".
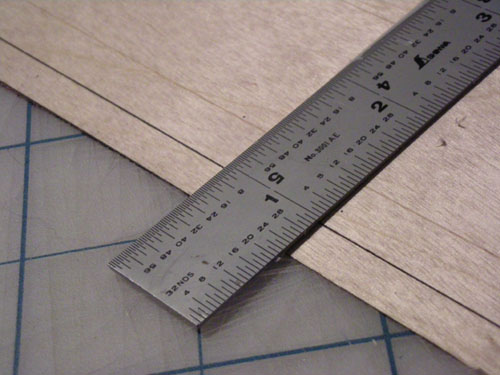
A difference like that in a design as intricate as mine is a deal breaker. I think I will try the Helix machine next time to see how I can improve this situation.
Third note: when cuts of varying depth need to be made, it's useful to know that the printer driver will interpret every line in the drawing literally: if there are four lines on top of each other, it will go over the same spot four times, making a deeper cut. This would allow you to make deeper cuts in some areas and just score the material in other areas.
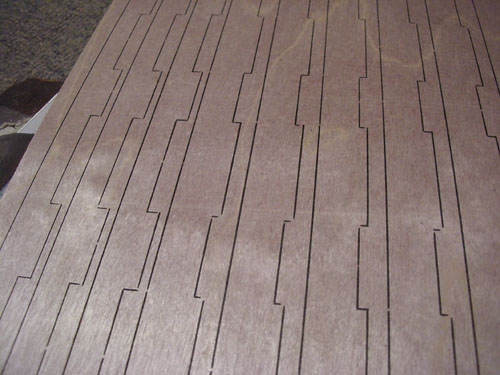
Fourth note: one thing I learned but did not have time to fix was that the machine doesn't automatically connect lines that are adjacent to each other. As you can see here, there are a lot of odd little gaps in the cuts, where the vector drawing seemed to meet up but apparently did not do so closely enough for the printer driver. I need to experiment to see why that happened.
I used three kinds of wood: 1/64" birch plywood, 1/32" birch plywood, and 1/16" basswood. The birch plywood had a high sheen to it, and took a lot of passes to make a decent cut. It was also thin enough to curl and distort the cuts.
Here's one sheet of the 1/64" birch plywood. I ran this one three times, and you can only barely see the design on the larger rectangles (that one place where the design shows is where the line thickness was wrong and what ought to have printed as a raster (etching) printed as a vector (cutting).
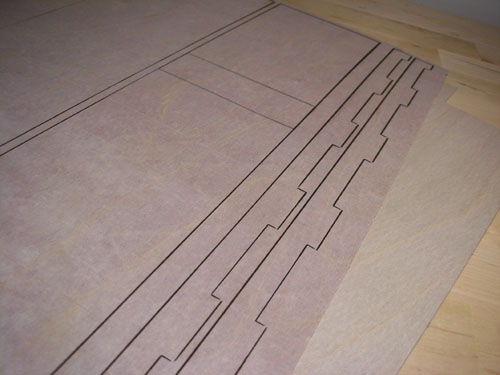
Here's the sheet of 1/32" birch plywood. I did two passes on this one at a much higher power and slower speed, and still didn't get all the way through. Also, the lines that had been two lines bled together because of the kerf; the ones that are clearly two lines are about as close as you can get the cuts and not lose your material.
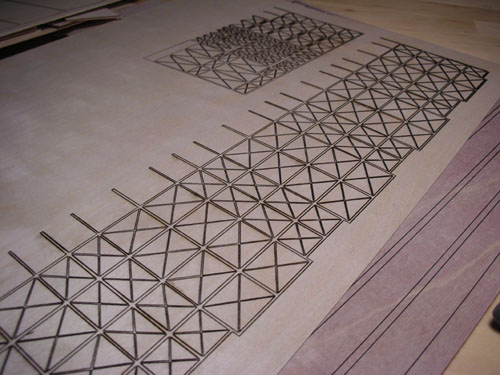
Here's another piece of 1/64" plywood. I was cutting out a series of pieces, and this worked OK. This one had four passes at a medium level, and was not cut through.
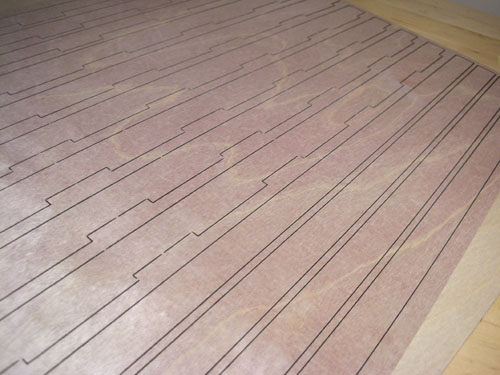
I think the finish level on the wood makes a big difference. This piece of 1/16" basswood cut through perfectly. No trouble; I ran it only once at a level that had barely made a dent in the 1/64" plywood, and it cut right through the first time.
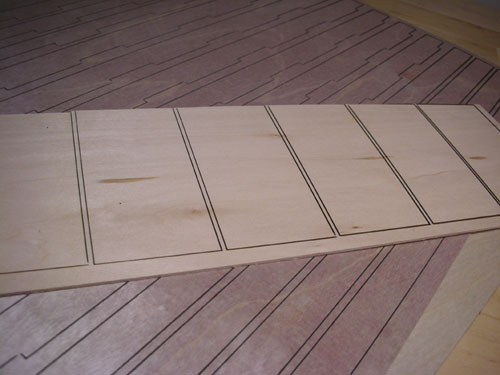
There are two major differences between the birch plywood and the basswood: the birch plywood is denser and tougher -- plywood generally is tougher and denser than unlaminated wood. And the basswood has a rough, porous surface that lends itself to burning.
In sum, I'm definitely happy with what I have learned, but I need to work on this some more with different material (I think museum board or another heavy paper would be good) and maybe using the newer machine. I also need to modify my drawings to work better for the machine.
Posted by ayse on 07/30/07 at 11:16 PM
Leave a comment